Creative Canning: Freezer Jam

The first book I read about canning assured me if I didn’t follow the instructions in the recipe exactly, I would most likely kill my whole family with botulism. The book was peppered with reminders of this certain death throughout. For the next year, ever jam slathered piece of toast felt a bit like Russian Roulette.
Canning is a precise art form. Some foods like jam (loaded with sugar) and pickles (loaded with vinegar) are a bit safer. I water bath can all my jam & pickles, but I am sure my Grandmother hasn’t water bath processed a jar of jam in her life (she typically stores jam in old cheese whiz containers). Low acid foods, say like corn and green beans, have to be processed in pressure canners. Following the recipe is critical, there has to be enough acid, sugar, or salt to preserve the food.
If you are like me, and like freedom in the kitchen, the very best place to start is with freezer jam. I use the word ‘jam’ loosely, as you can skip the pectin and make more of a fruit topping if you’d like. My favourite things about freezer jam?
You can let your creativity flow, and skip the recipe.
You can make raw jam, which showcases the true flavour of the fruit.
You can make jam with a small amount of fruit
You can use WAY less sugar (most water bath processed jams call for more sugar than actual fruit).
You don’t need to go through the while rigamarole of water bath canning - the simple act of freezing your creation will preserve it for 3-6 months.
Freezer Jam Supplies
Jars with lids - I find 250 mL is the best size for freezer jam, once opened, you’ll need to finish the jam in 3-4 weeks. with freezer jam, you can use any recycled jar, it just needs to be clean
Fruit
Sugar
Other creative ingredients of your choosing
Labels - you will forget what jam you have. Label with the flavour and date
Optional: Pectin

To Make Freezer Jam
I don’t want to give you a recipe, although I will offer some combo suggestions below. The whole point here is that you are getting creative.
Decide what kind of jam you are going to make, then gather your ingredients and tools. Once you get started, you don’t want to have to run to the store.
Wash the jars in hot water and soap. Rinse well. You don’t need to sterilize jars you are using for freezer jam.
Process your fruit. “Process” can mean a few things. It always means wash well. For some fruits (like berries) you’ll need to remove any leaves and stems. For cherries, remove the pits. For peaches and nectarines, remove the skins (you’ll do this by blanching the fruit).
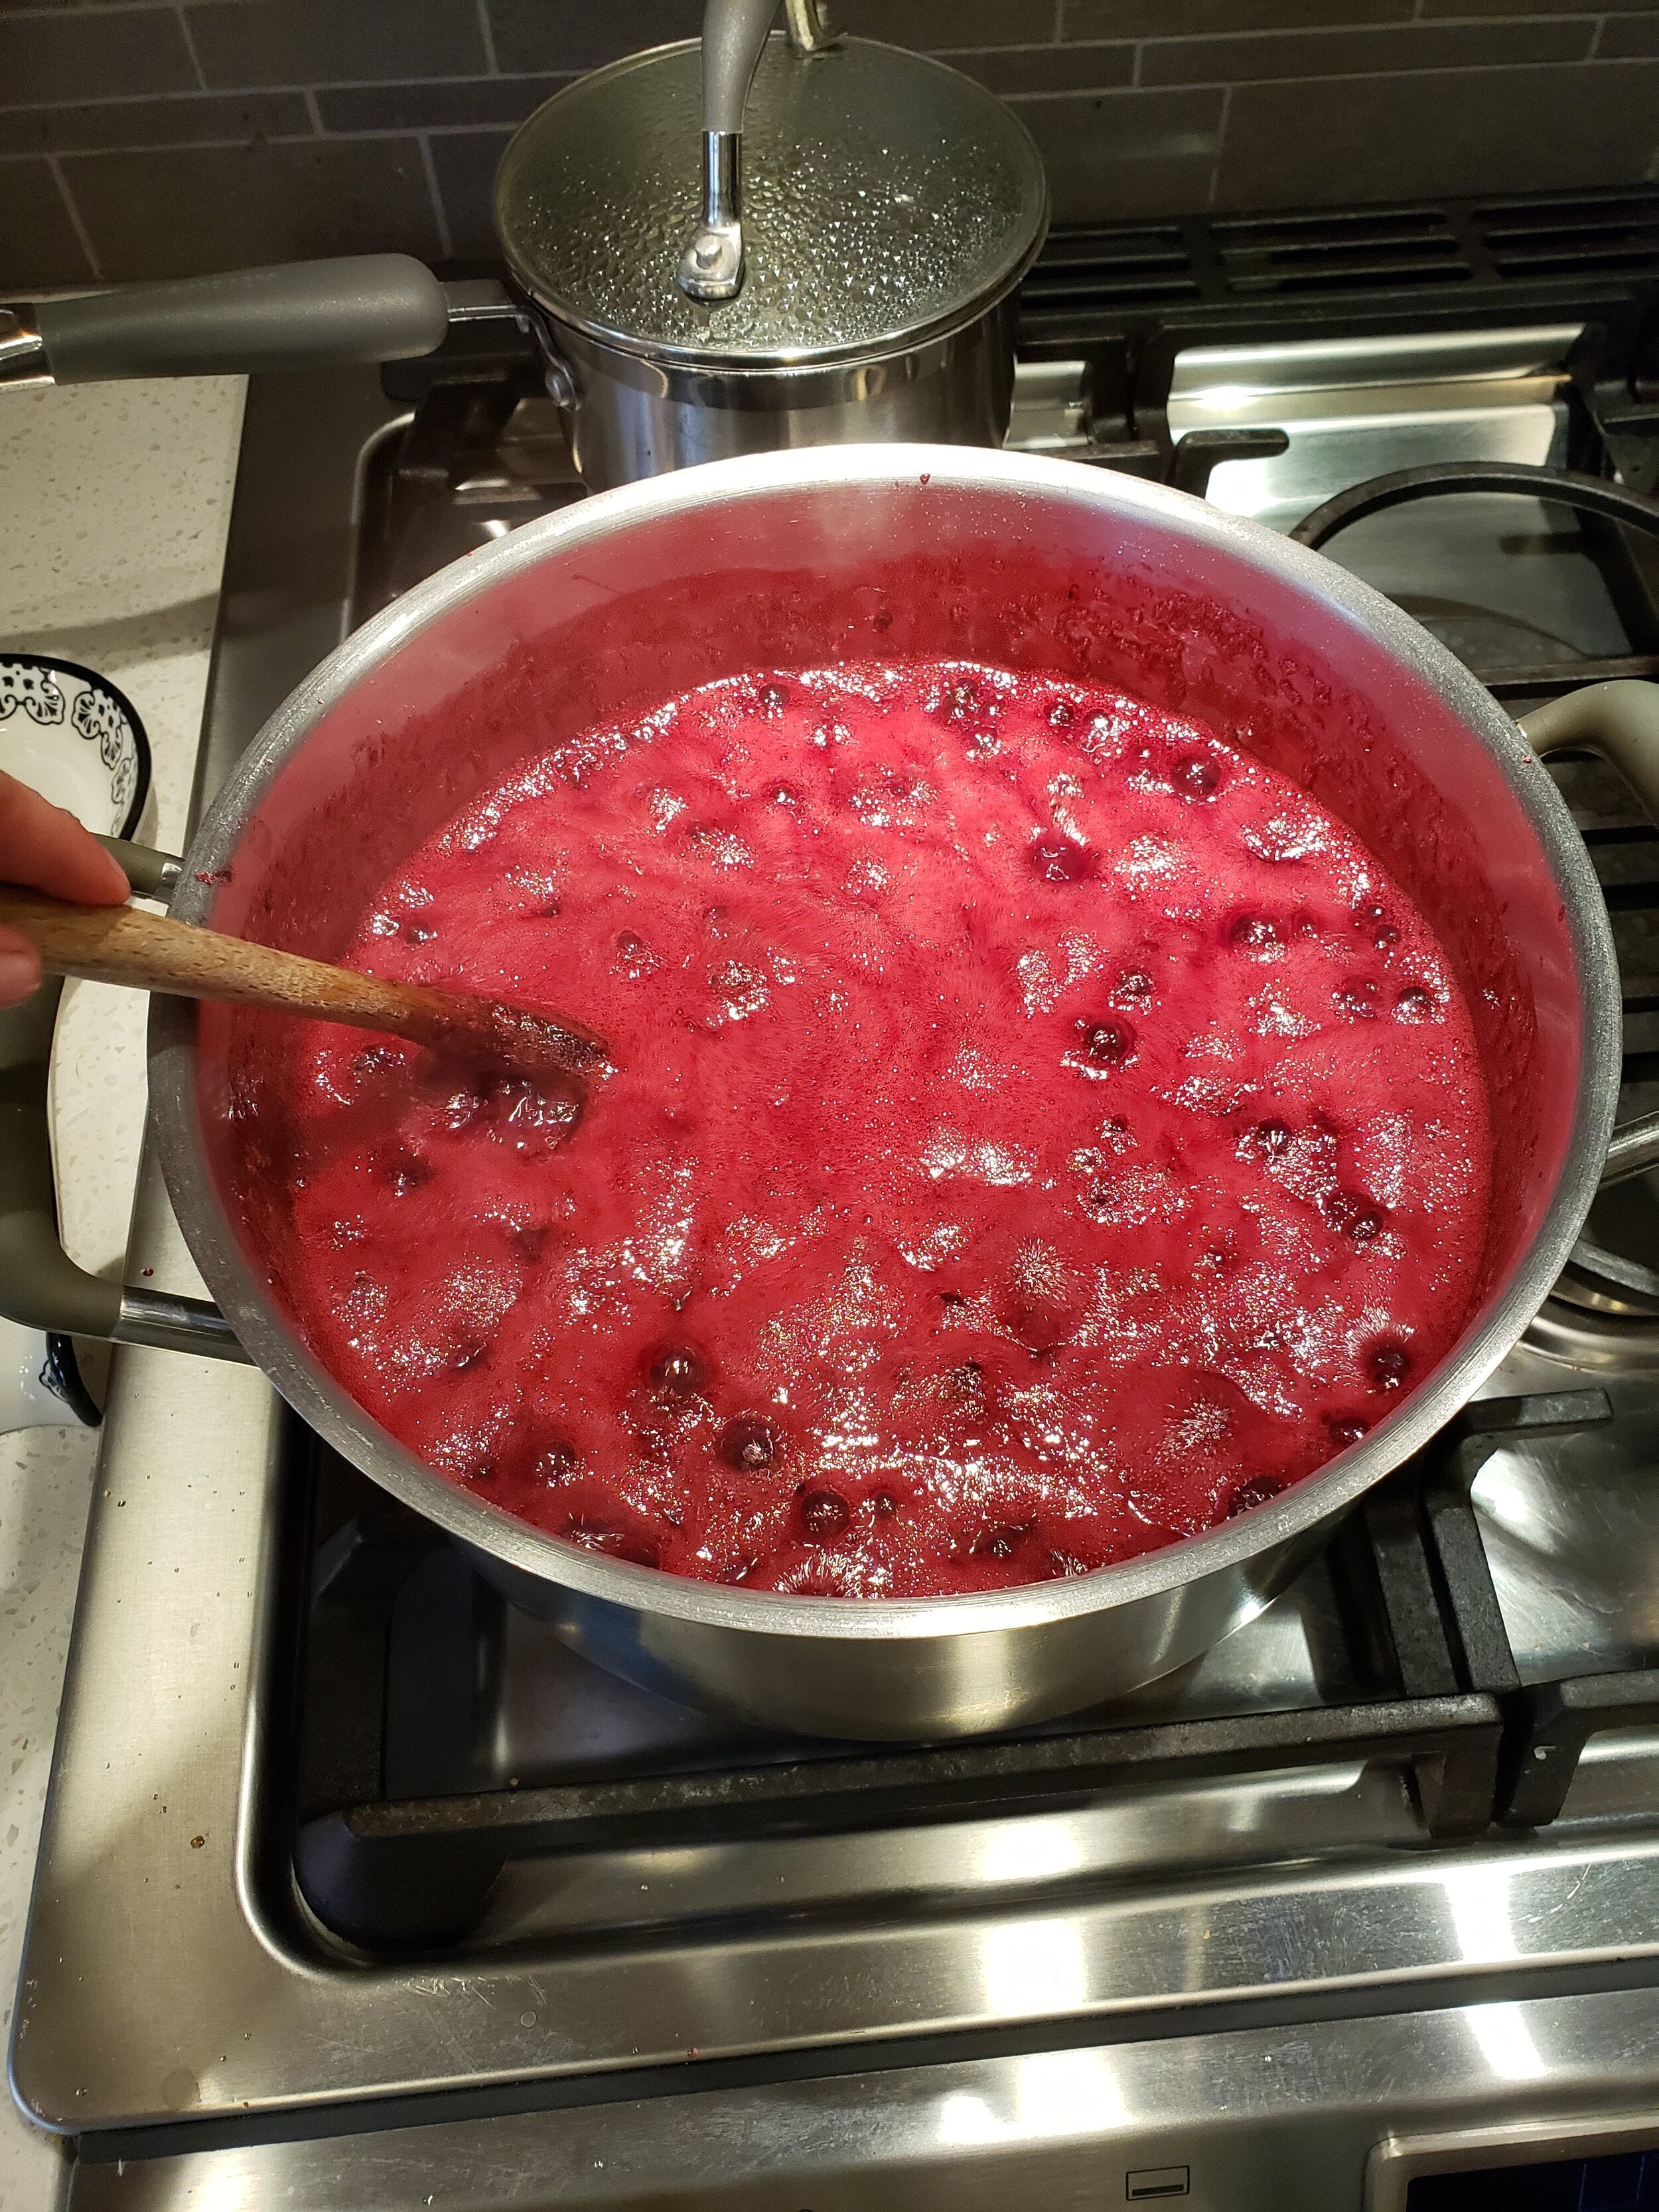
For freestyle cooked jam - I typically start with an 4:1 ratio of fruit to sugar (with really sweet fruit you could try 8:1). Mix the fruit, sugar, and any other flavourings together, bring to a boil (stay near the stove to stir), then reduce to a simmer, and finally taste. Add sugar to adjust the sweetness to your liking. If you are using fruit with little water content (like Saskatoon berries or rhubarb) you may need to add a splash of water at the beginning.
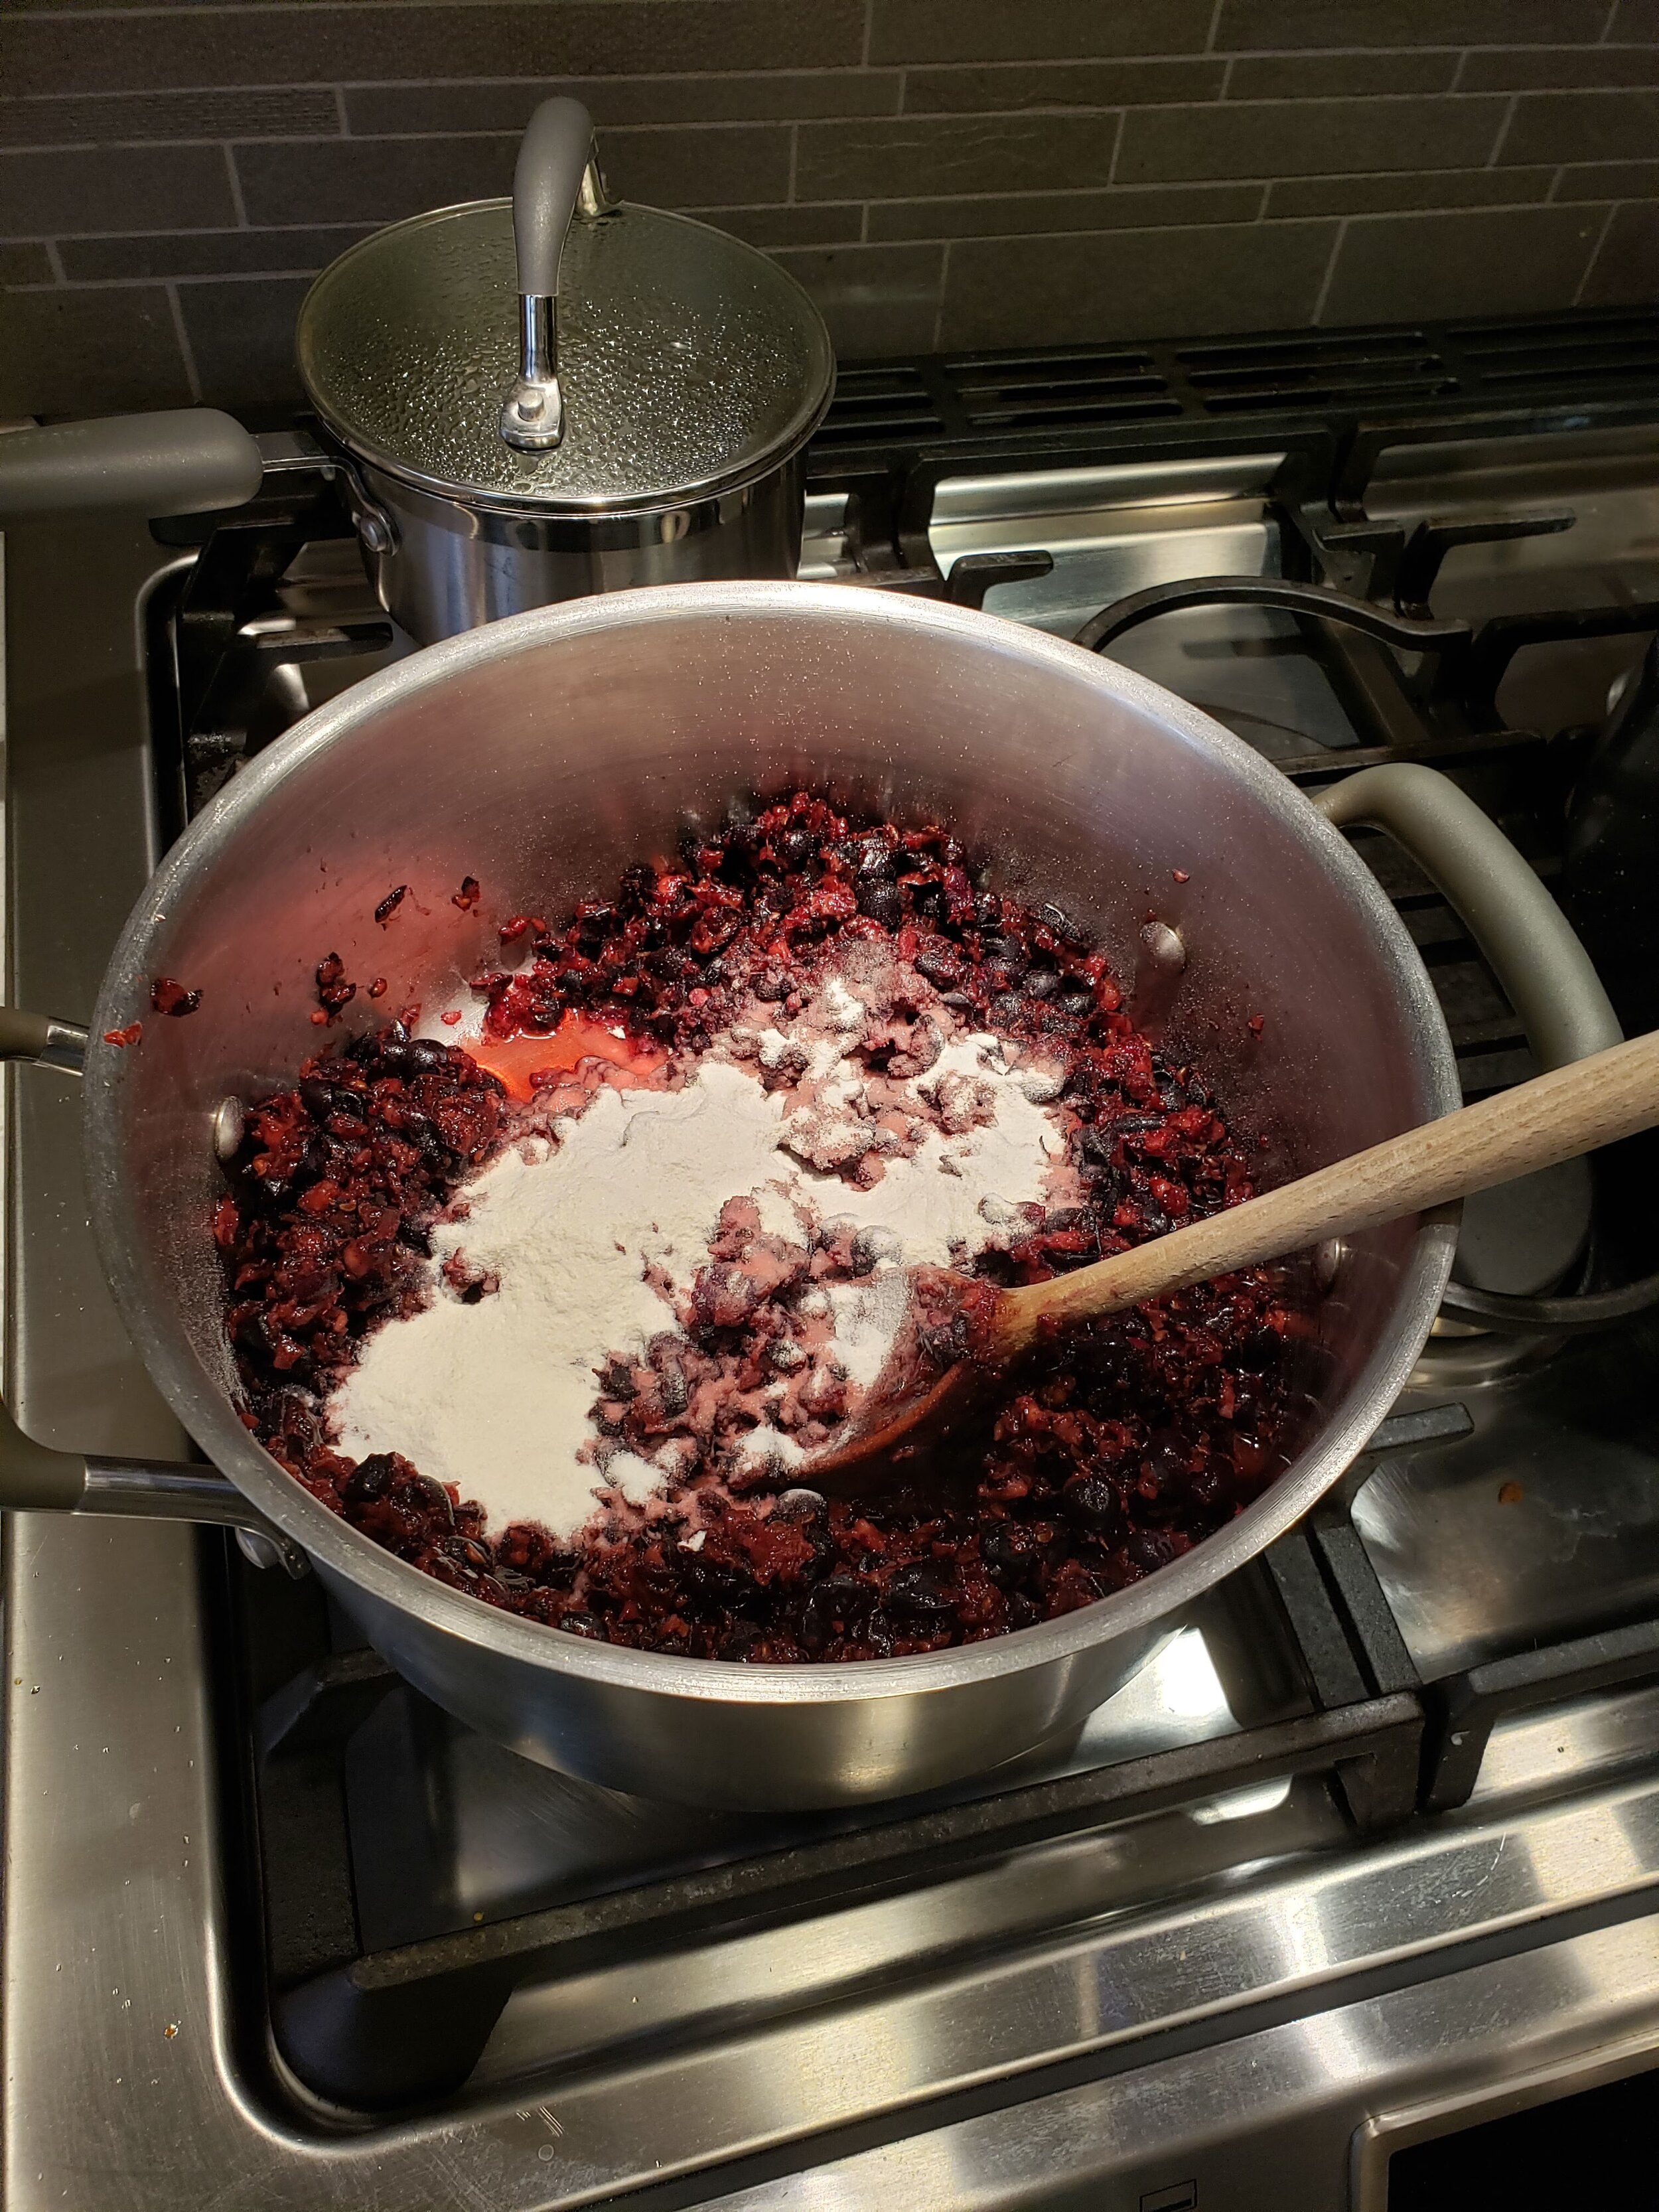
For raw jam with pectin - I use Bernardin Freezer Jam pectin, and follow the instructions on the package. This jam can be a bit runny, so if firm jam is your jam, skip this type.
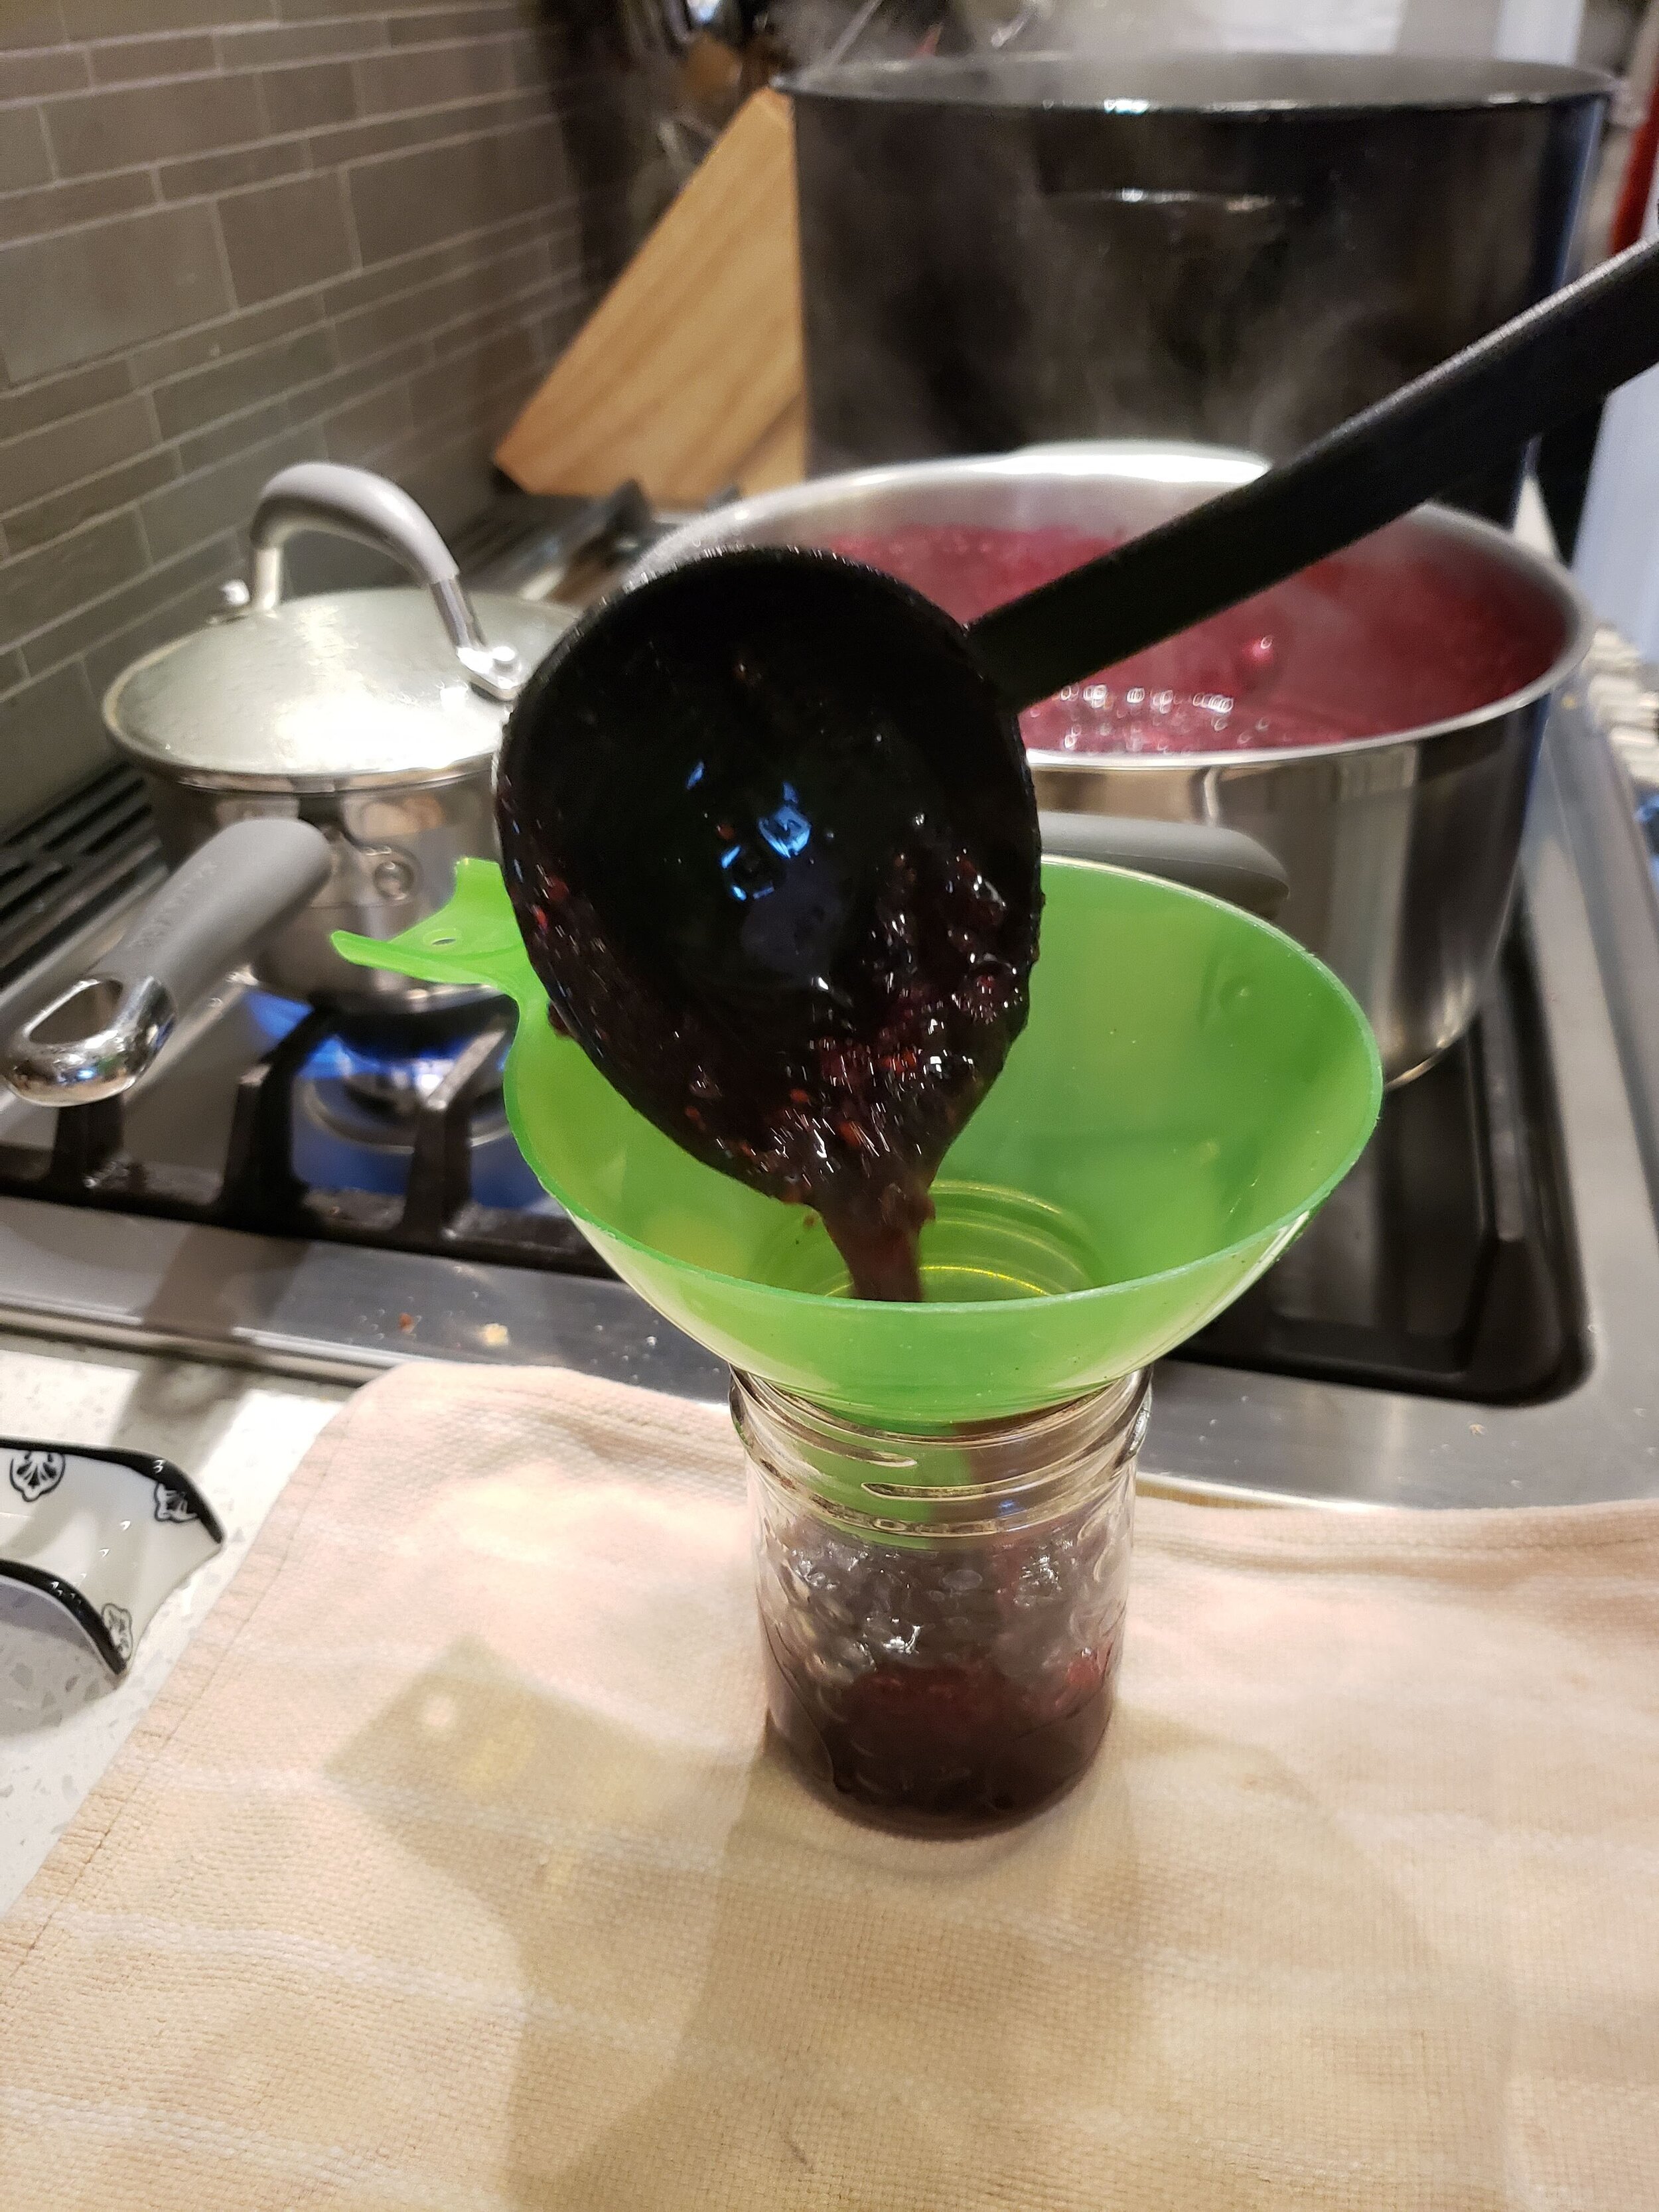
Then fill your jars, leaving about 1/4” headspace. Wipe of the rims, label, and place your jars in the fridge (these will last 3-4 weeks) or the freezer (3-6 months)
Freezer Jam Combos
The sky is the limit here friend! No one wants to end up with a recipe failure when they are processing 20 pounds of fruit, but freezer jam allows small batches and wild risk taking in the flavour department.
Rhubarb + cream of earl grey tea (make an extra strong brew in about 1/2 cup of water and add at the beginning)
Saskatoon Berries and star anise
Peaches with cinnamon & cloves (I use whole spices and remove before canning the jam)
Strawberry, balsamic & basil
Pear and ginger
Haskap berry and limoncello (full disclosure, I’ve never made a boozy jam, it might take some experimenting to get the right balance here)
How to use Freezer Jam
Super sticky sweet store bought jam is best served on toast, or as part of a PB&J. But your artisanal, high flavour freezer jam can be used in far more adventurous ways.

Pop a dallop on a cheese or charcuterie board (Saskatoon berry jam & smoked bison, mmmm)
Mix in a spoonful into plain yogurt
Use it as a topping for cheesecake (I made a batch of jam with my sour cherry harvest and popped it on a cheesecake, the sour and creamy was divine)
Create a berry compote or pan sauce topping for red meats (I might add some red wine to the mix before serving)
Spread a bit on to a fancy grilled cheese (pear and brie would be…so good)
Pour some on to your favourite breakfast treats (like pancakes and waffles) this works well if your jam turns our more runny than expected.
Use it as a filling for cake or sandwich cookies
Shake it with some olive oil, vinegar, salt & pepper to make a salad dressing